
 Hey there

 Legals


Present a Figma flow

 Download
Give your flow a window of its own. Guise lets you open a Figma prototype at a size that suits the design, present its interactions, and keep the moments worth revisiting.
Before you begin
Have your Figma prototype link ready, and check that the people viewing it have access. You’ll also need the dimensions of the frame you want to present. You can find these in Figma when that frame is selected.
Set access to “Anyone” when sharing the prototype link with friends, founders, or anyone previewing your design.
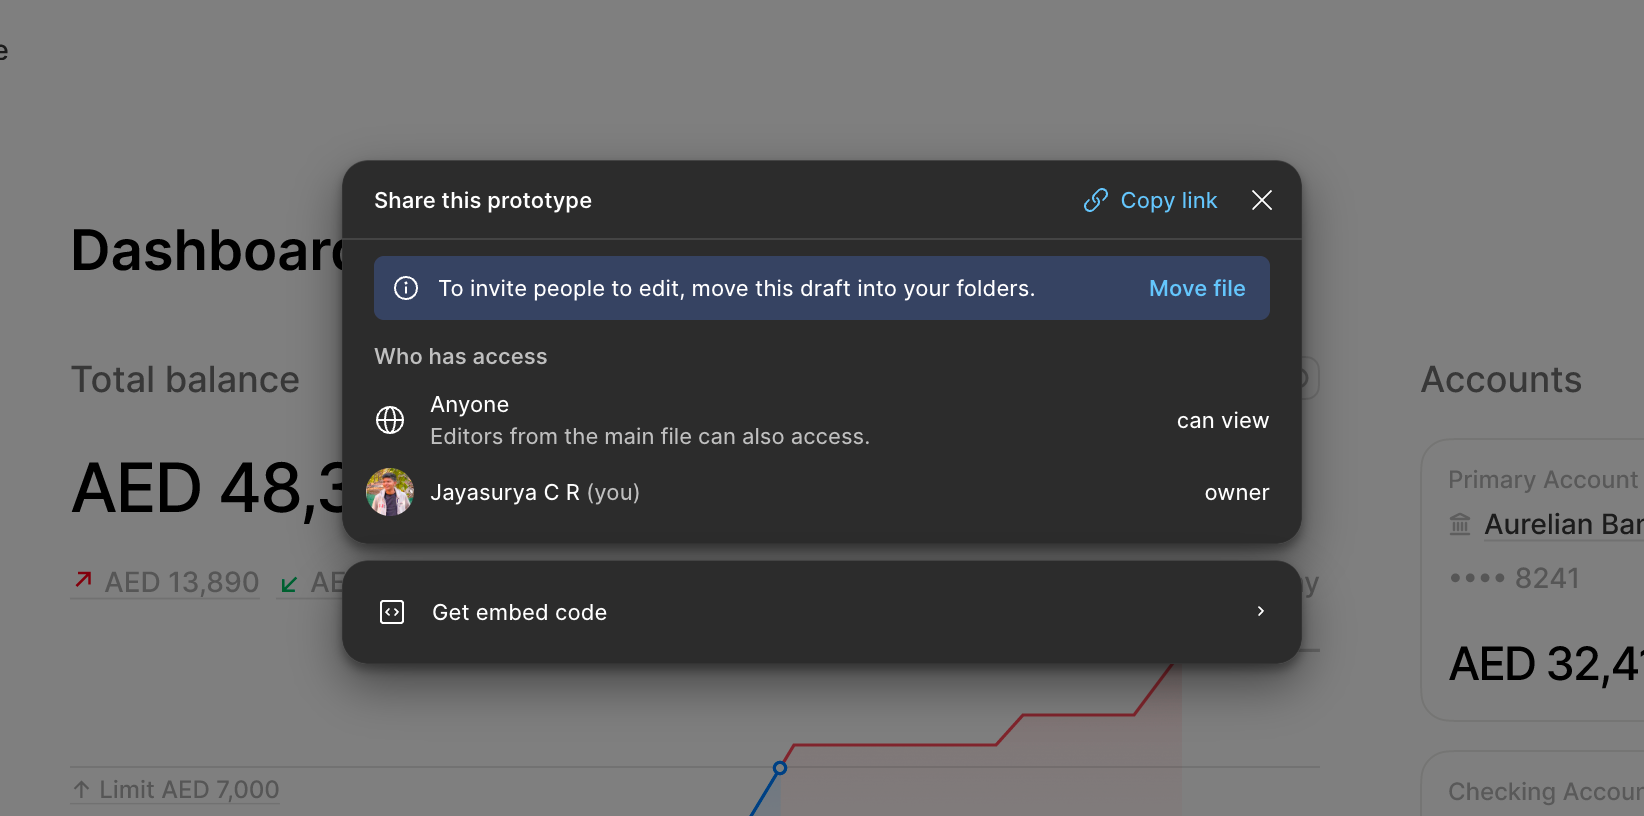
Set the window size
Add the exact height and width of the design frame.
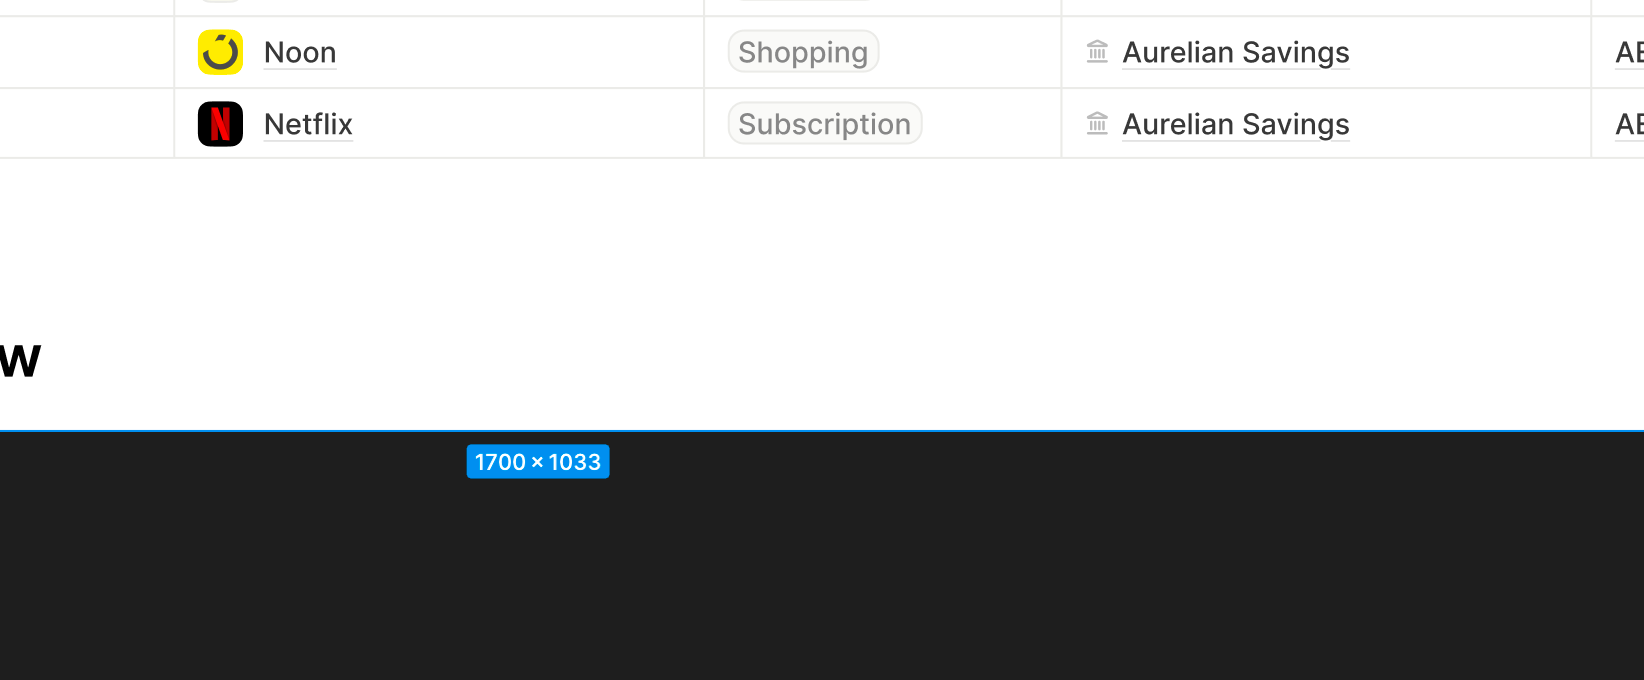
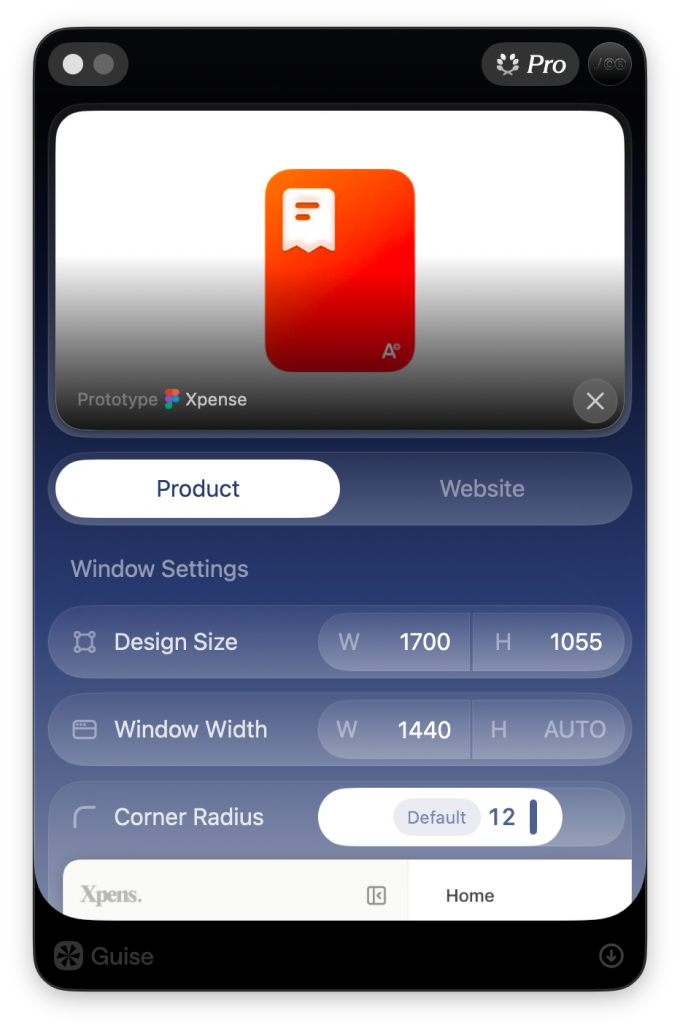

For example, the design frame here is 1700 × 1033 pixels.
You can use any size. There are no restrictions, but a desktop-sized design works best.
For longer designs
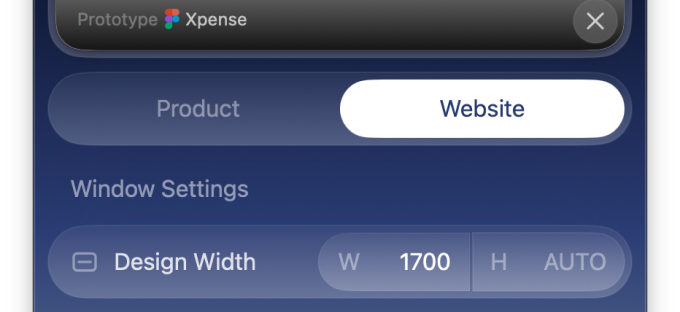
If you’re presenting a website or a taller design,
choose “Website” and enter only the design’s width.
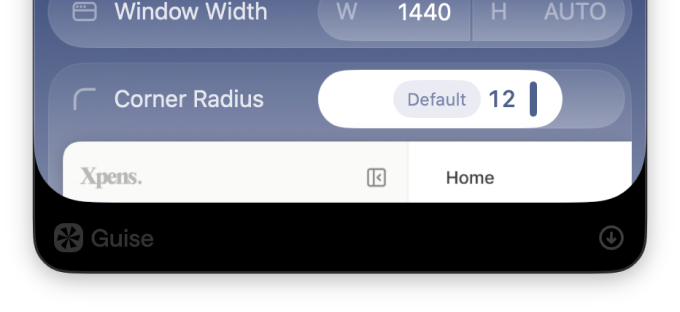
Corner Radius
Set the corner radius of your presentation window.
Choose a value that matches your design.
Presentation Settings
Make a perfect presentation
As a designer myself, I love to express my creativity in my own unique way, and I don’t want anything to interrupt that.
I’ve added these options to help you do the same. You can hide the cursor in screenshots and turn on Presentation Mode to completely hide the macOS menu bar and Dock, keeping everyone’s attention on your creation.
Guise hides the system cursor by default.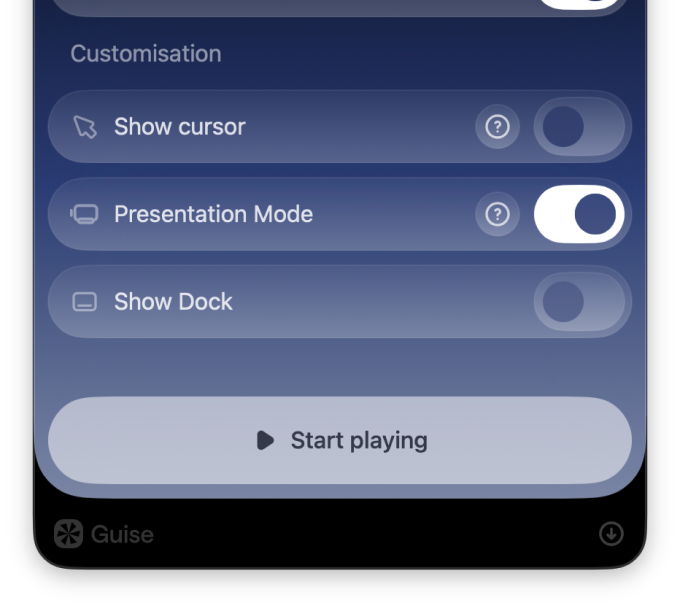
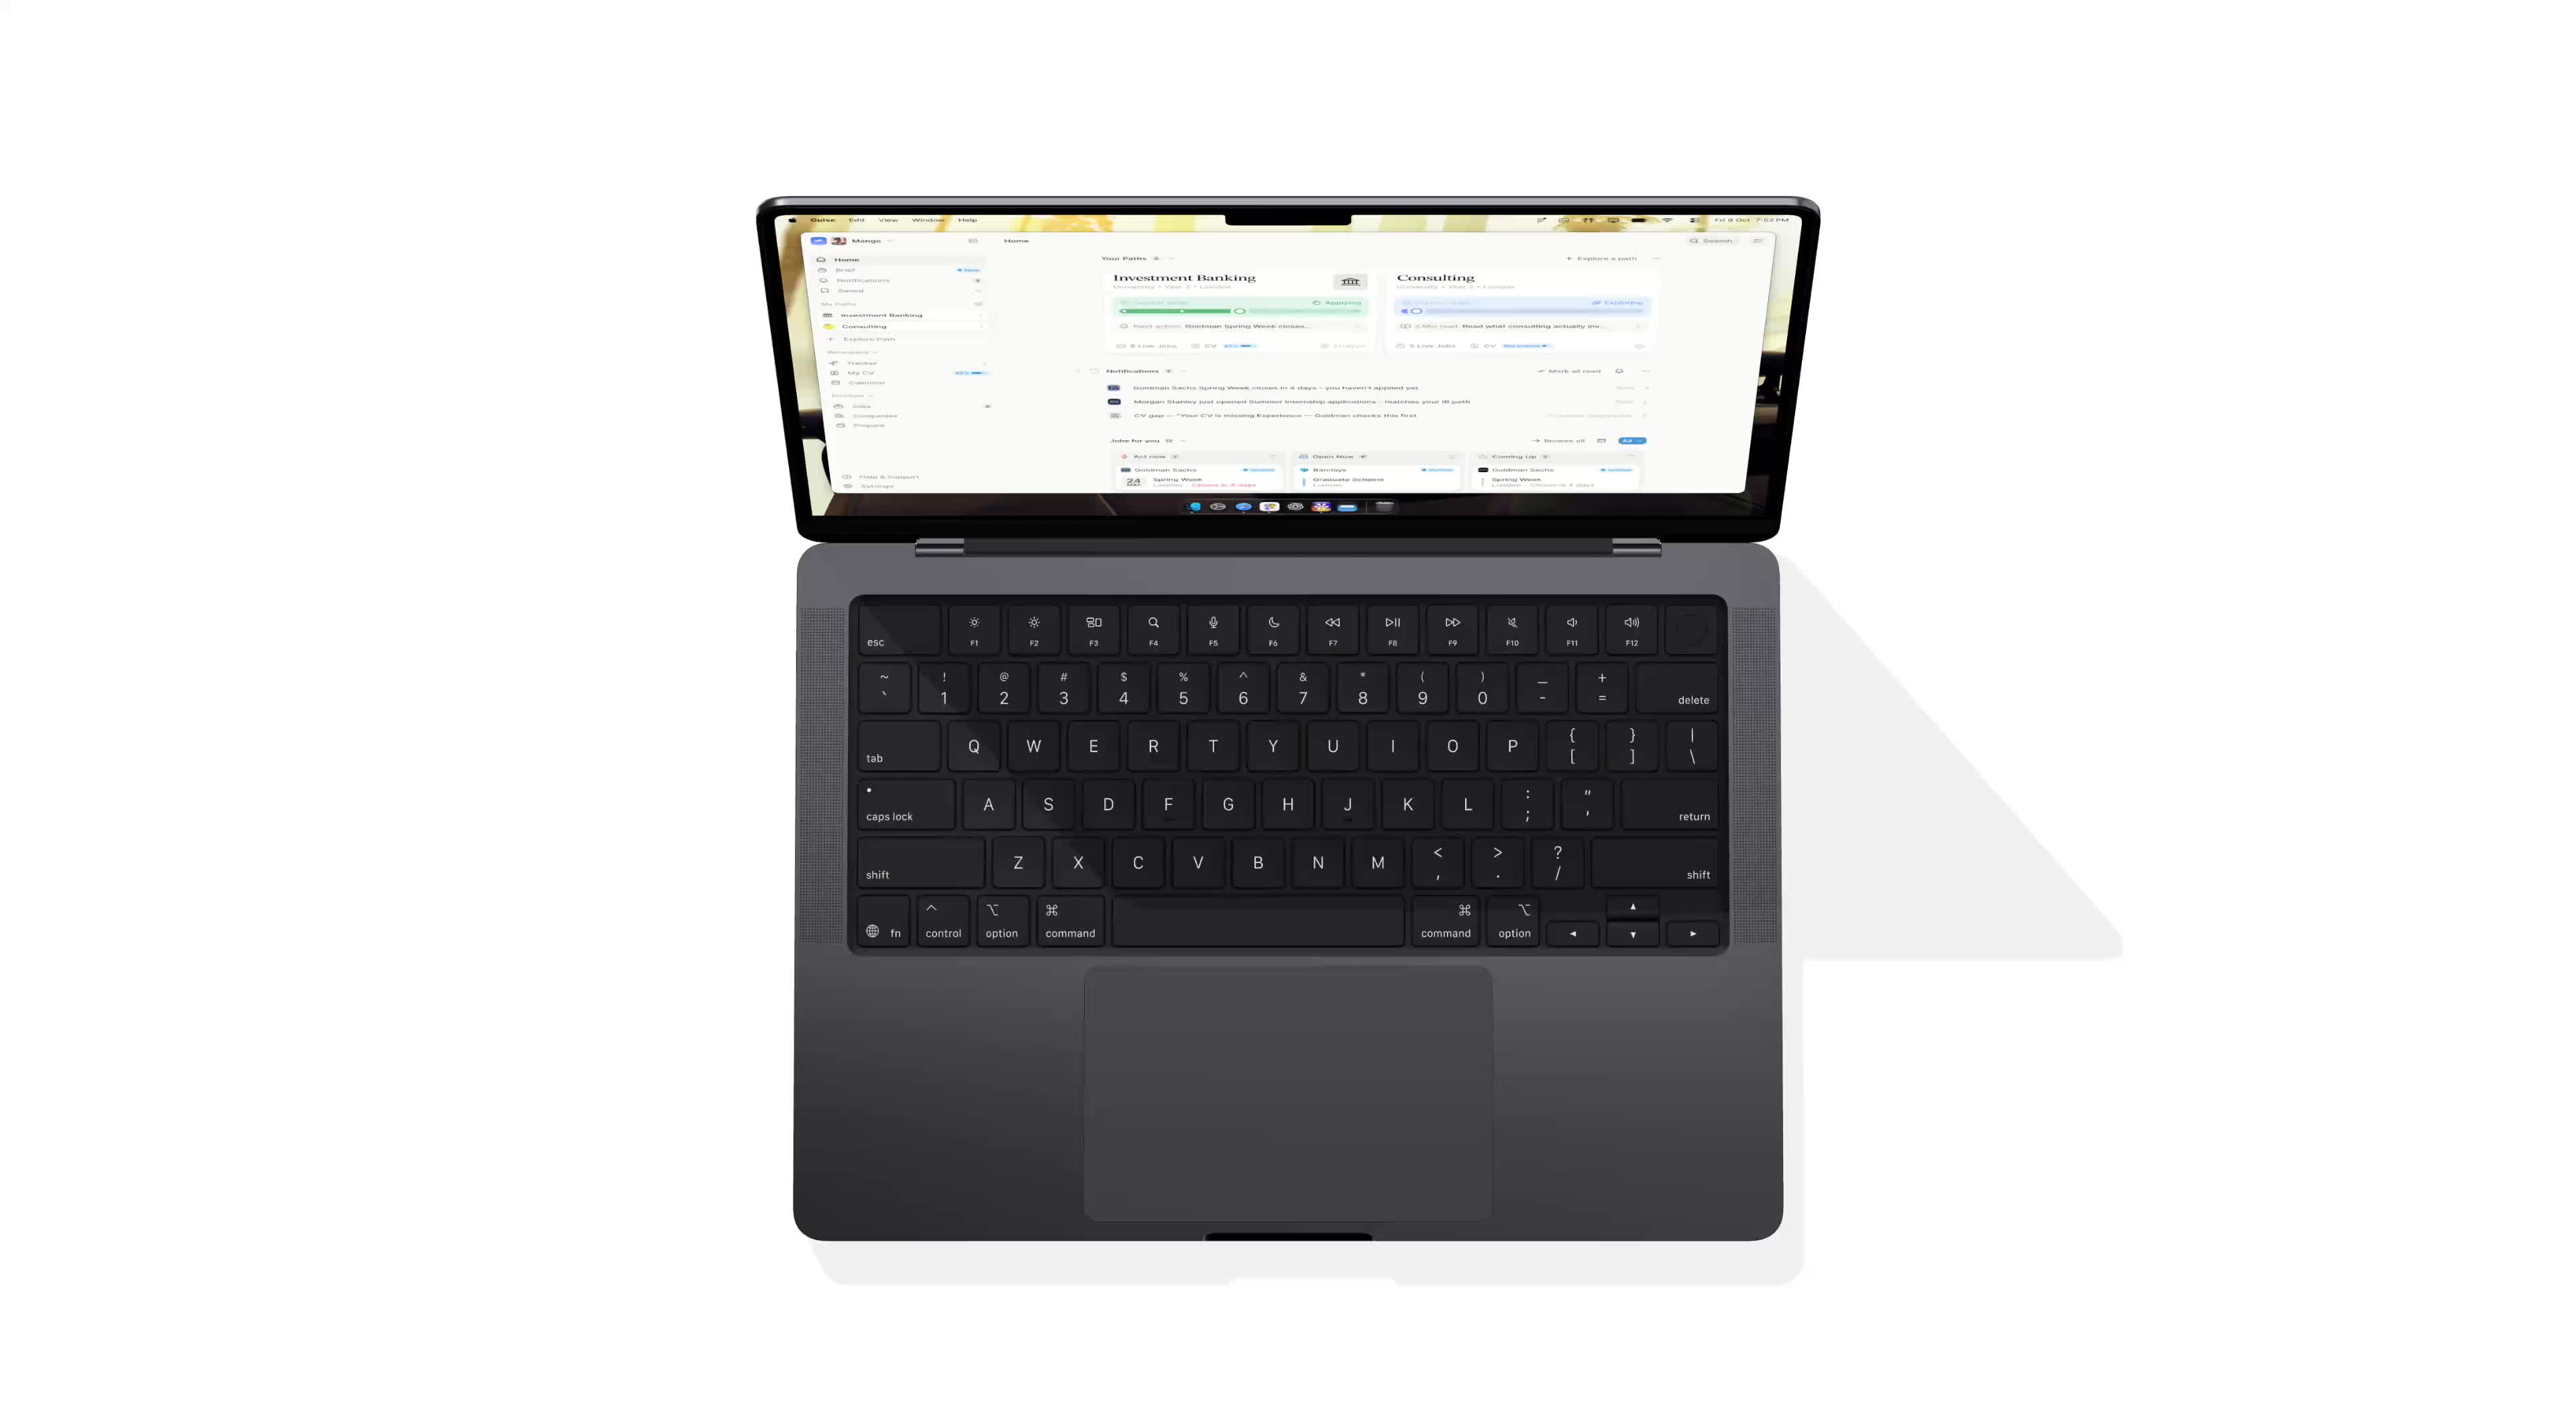
Start presenting.
See your product’s design in a way that feels as though it is already live. Guise gives you better ways to present your design. When you are on a call with your team or founders, you can present it like a live product, giving everyone a clearer way to review your design and make decisions about it. You do not have to wait until the end to bring up updates or make changes.
You now have a better way to see and experience your design.
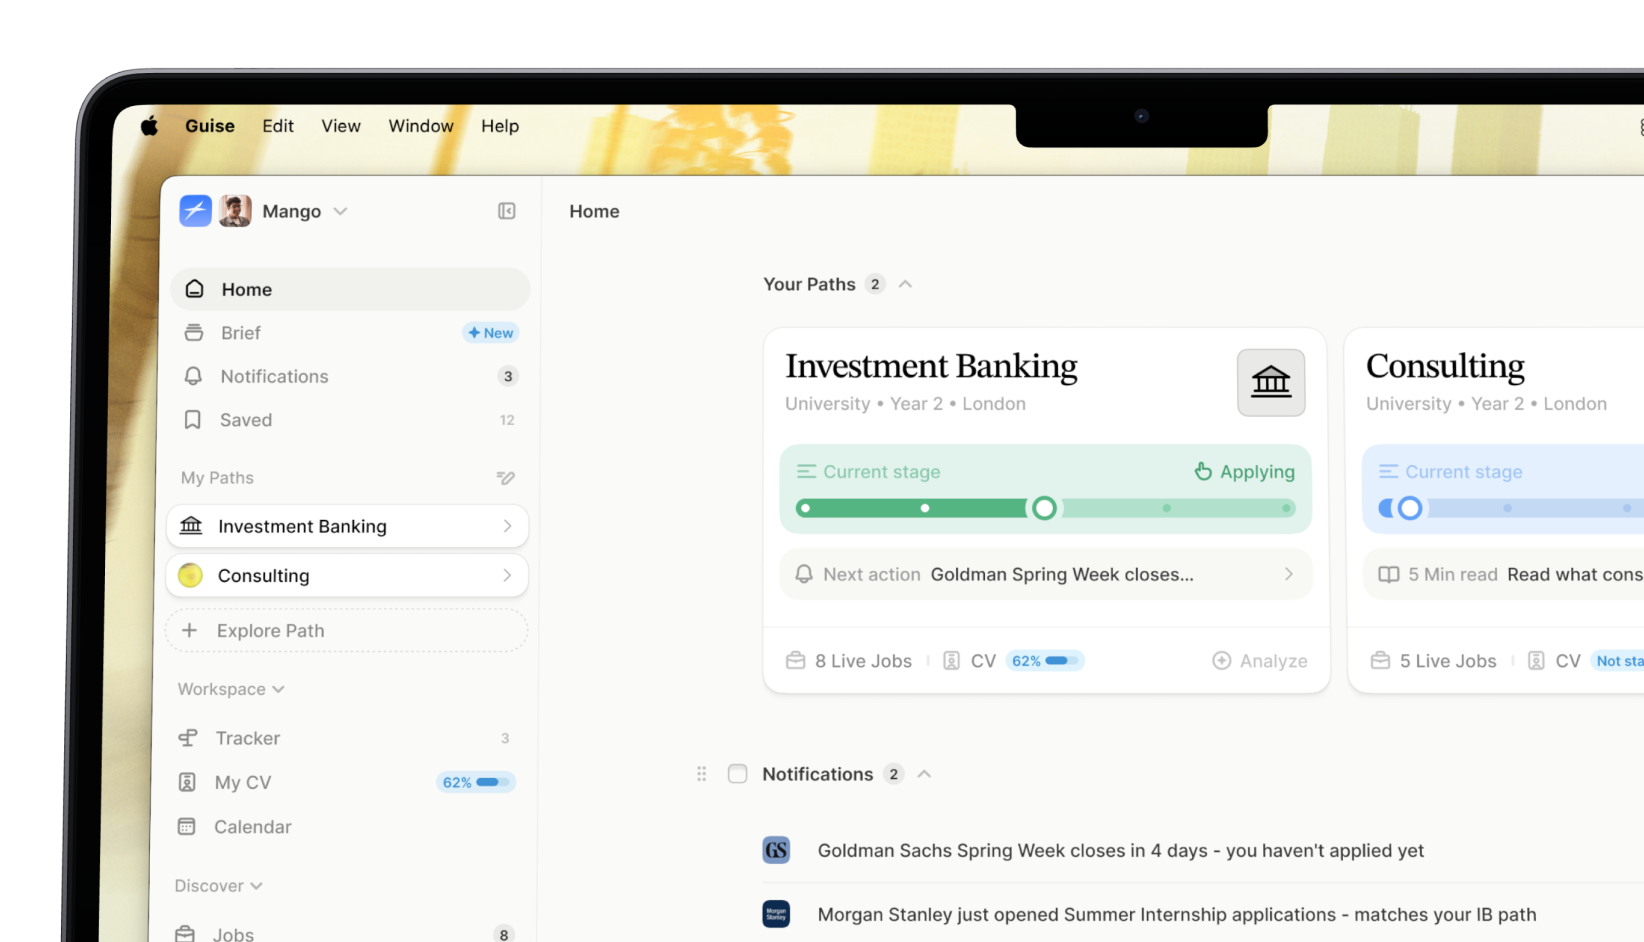
When presenting, use ⌘⇧3 to capture the entire screen. Guise saves those screenshots inside the app, where you can add comments and markup.
Screenshots captured with ⌘⇧4 and ⌘⇧5 are saved in Guise’s designated Finder folder, “My Guise Shots.” You can find the screenshots from that session in this folder.
Read more about how screen capture works in Guise
Happy presenting.